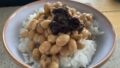
To be honest, I wasn’t a huge fan of brown rice(gen-mai 玄米). I know I should benefit from higher nutritional value—but I liked white rice better, they simply taste better!
I was buying rice from my favorite rice shop the other day, and I was chatting with the shop owner (he’s really nice and knowledgable). I complained how I don’t like brown rice (I do like the fact that it comes off nicely from the rice pot though), and he introduced germinated brown rice (hatuga gen-mai). This was new step for me, so I decided to share my experience here.
I had heard that sprouting brown rice could boost its nutritional profile, improve its texture, and even make it easier to digest. Curiosity—and a bit of kitchen nerdiness—got the best of me, so I gave it a go!
What is Germinated Brown Rice?
Germinated brown rice is simply brown rice that has been soaked long enough to begin sprouting. This process activates enzymes and increases the content of gamma-aminobutyric acid (GABA), a compound thought to help calm the nervous system and support brain function. Pretty amazing for something as humble as rice, right?
It’s totally obvious, but when you eat white rice everyday, it’s not so easy to connect the dots and realize that rice (brown rice) grows rice. It sounds stupid, but when I heard about germinated brown rice, I thought, you mean I can grow rice from my pantry??? White rice is not capable of sprouting, by the way. It has lost features needed for sprouting, so don’t try this method below with white rice.
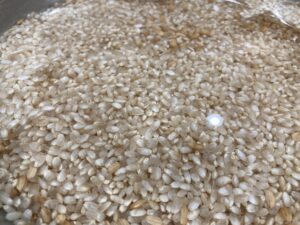
The Process: Soaking and Waiting
Here’s how I did it:
- I rinsed 1kg of brown rice thoroughly until the water ran mostly clear.
- I placed the rice in a bowl and covered it with filtered water—about twice the volume of the rice.
- I left it at room temperature (around 22~23 celsius), loosely covered with a cling film.
- Every 8–12 hours, I drained and re-rinsed the rice to prevent any funky smells or mold.
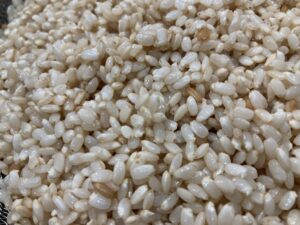
- Mine took about 60 hours to start sprouting, and I stopped after 96hours. It took longer than I expected!!
I’ll admit, I was skeptical at first. Would it really sprout? Would it go bad? But I was pleasantly surprised.
After you are satisfied, don’t leave the rice in water because it will continue to grow. Drain the water and put the rice in fridge. Consume within a week.

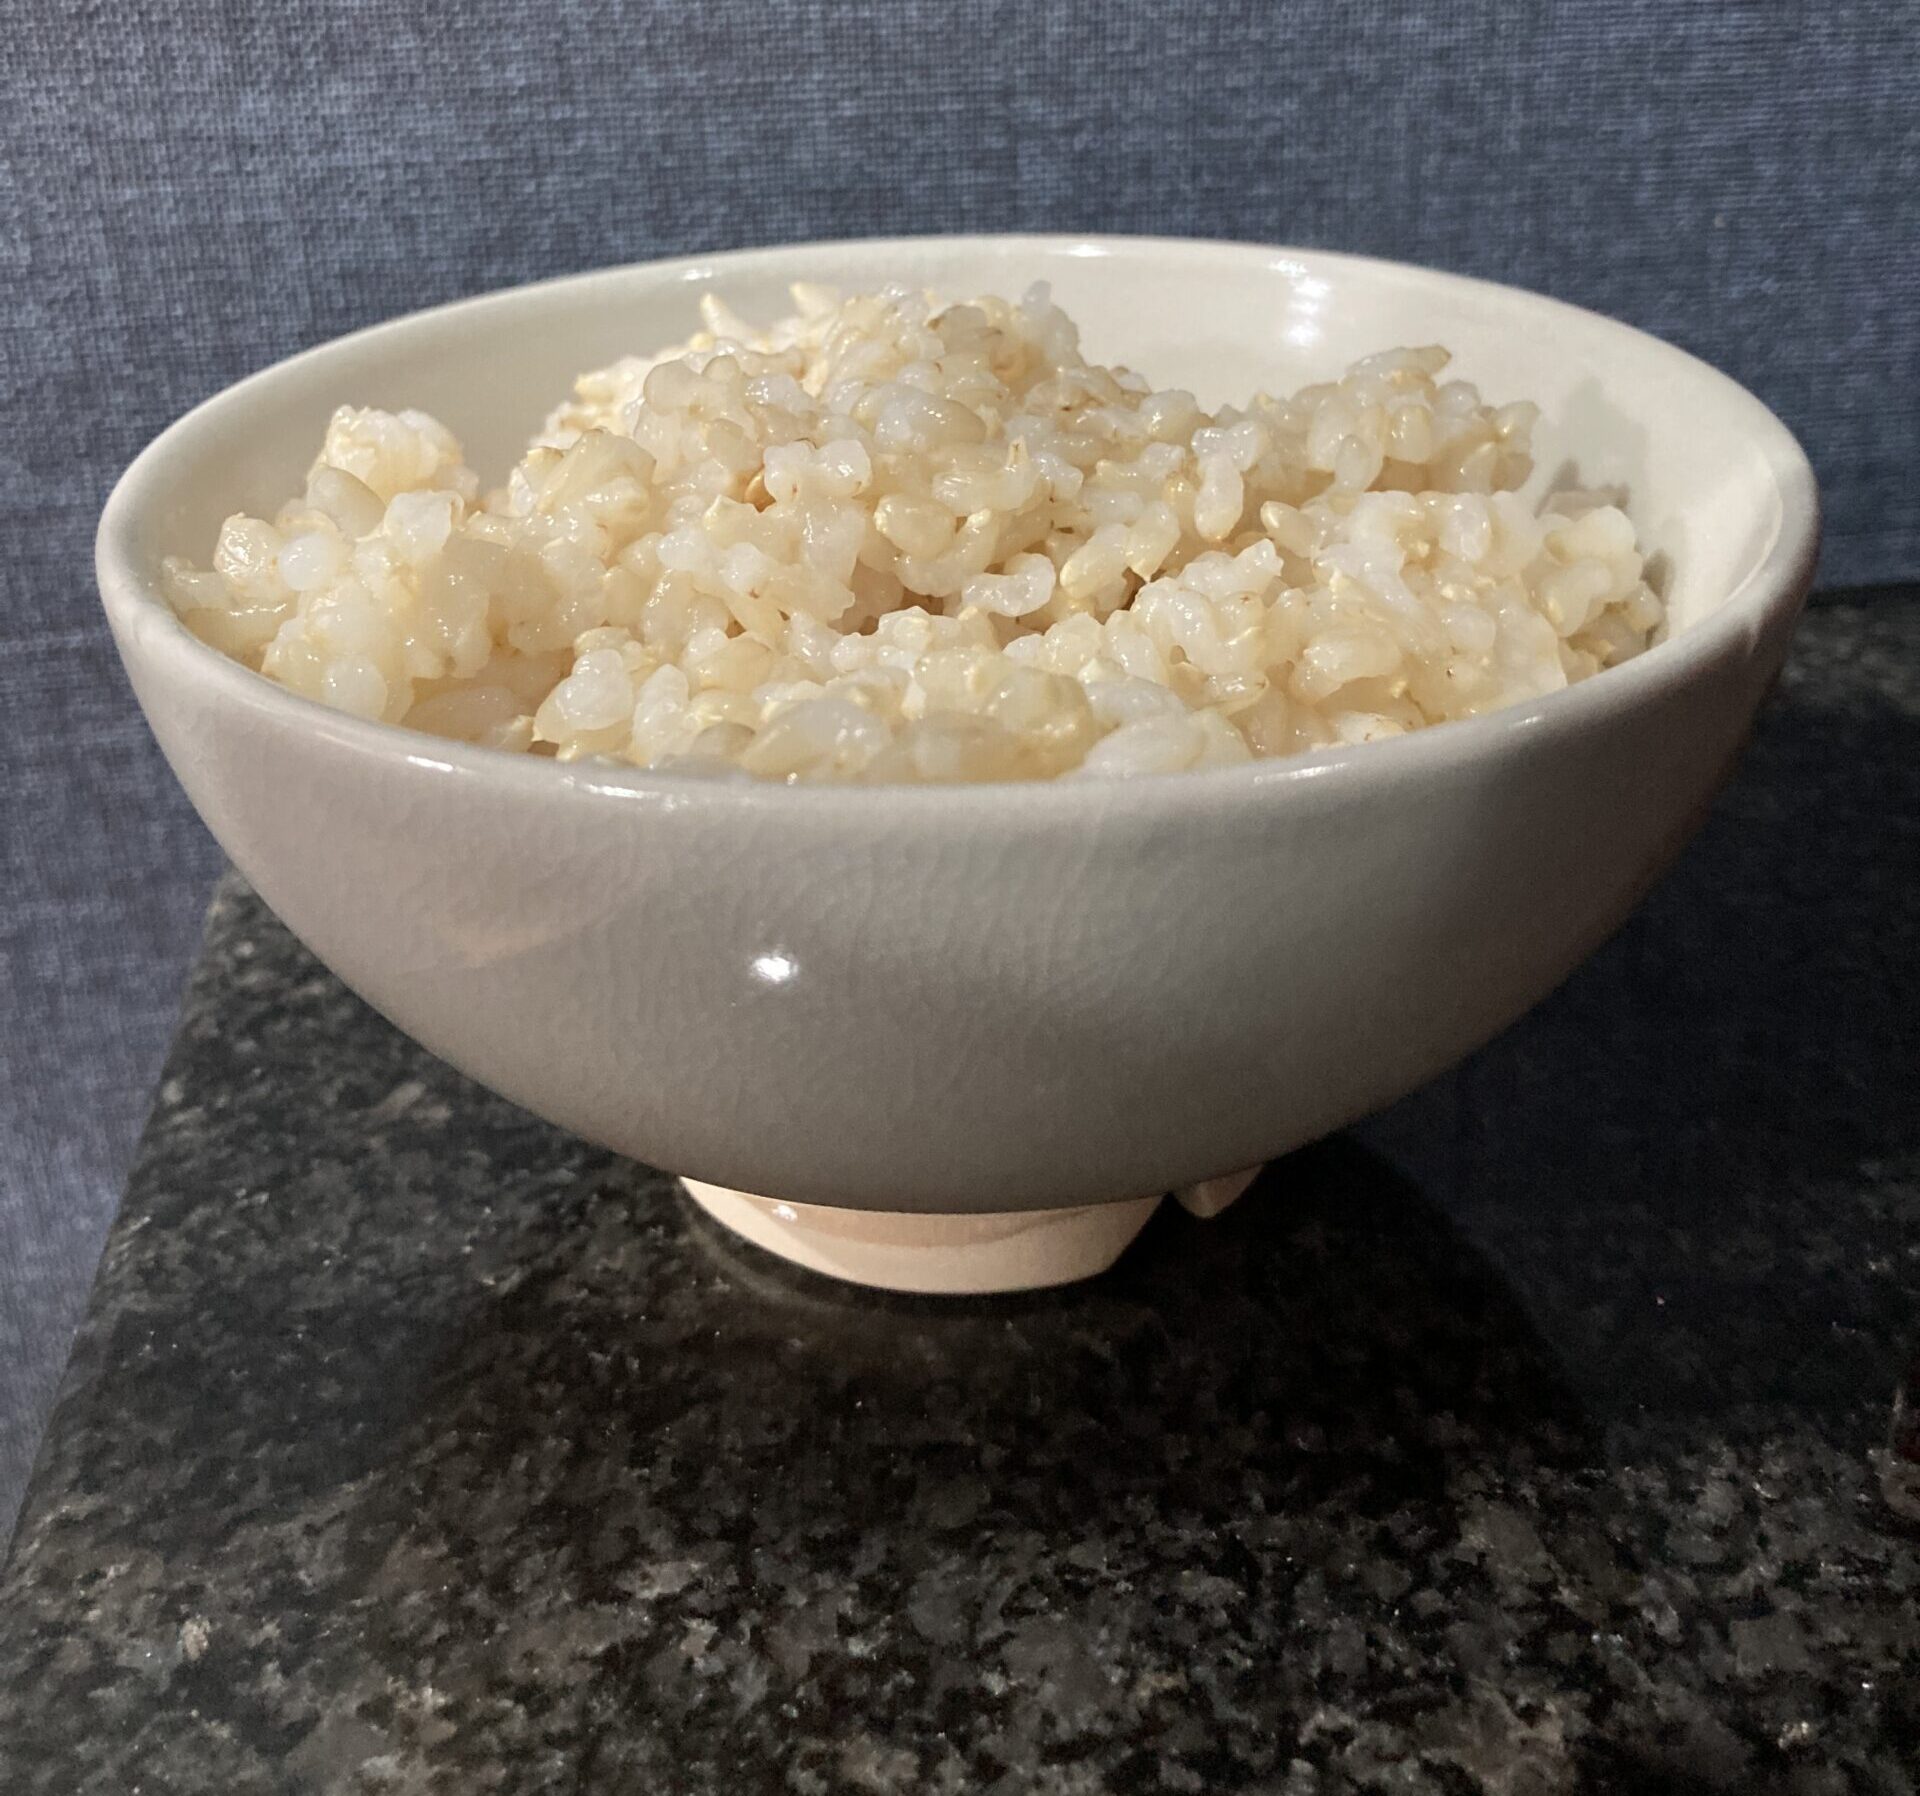
Cooking and Taste
I used my usual rice measuring cup, which equals 180ml. 180ml is called 1go(合). It’s volume, so make sure you don’t measure 180g. For white rice, I sometimes measure 150g, but germinated rice has soaked up water, and it weighed 130g this time.
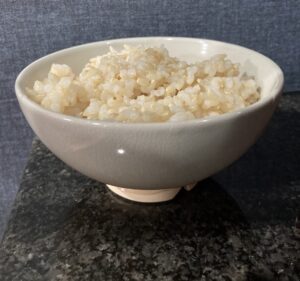
If your rice cooker has “gen-mai mode”, go for it. If not, you can cook the regular way. You might want to add just a little bit extra water.
For me, it tasted like 70% white rice, and 30% brown rice. It was softer, and didn’t have that distinct brown rice flavor.
Why I’ll Be Making This Again
Besides the improved taste and texture, I love knowing that this rice might be giving me a little extra nutritional boost. The process did require a bit of planning, but no special tools were needed—just time, water, and a little patience.
Things I Learned
- Use fresh, organic brown rice if possible—older rice may not sprout well.
- Cleanliness is key. Rinsing regularly during soaking helps avoid unpleasant odors.
- If the room is cold, sprouting might take longer. In warm weather, keep an eye on it to prevent over-germination.
Final Thoughts
Trying germinated brown rice was a fun and rewarding little kitchen experiment. It made me slow down and appreciate the humble grain in a whole new way. I’ll definitely be making it again—and next time, I won’t use 1kg, starting at 200g or small amount is better for experiments (I cooked and froze for later use, but I still have too much).